
How to Paint a Ceiling: A Complete Step-by-Step Guide
Painting a ceiling isn’t always the most exciting home project, but it can make a huge difference in how a room looks and feels. It can brighten up a space and even make a room feel larger and more cohesive, especially if you’re updating the color of the walls too.
If you’re not sure how to paint a ceiling, you’re not alone! It may seem straightforward, but ceilings are surprisingly tricky to paint- and it can be easy to make mistakes along the way. Let’s break down what you should know so your project goes smoothly, starting with prep work and working our way to the final touches.

Ceilings are a major visual surface in any room, but are often overlooked when trying to refresh a space. Ceilings can yellow, collect dust, or show stains from moisture or smoke over time, which can easily diminish the look and feel of your space if ignored.
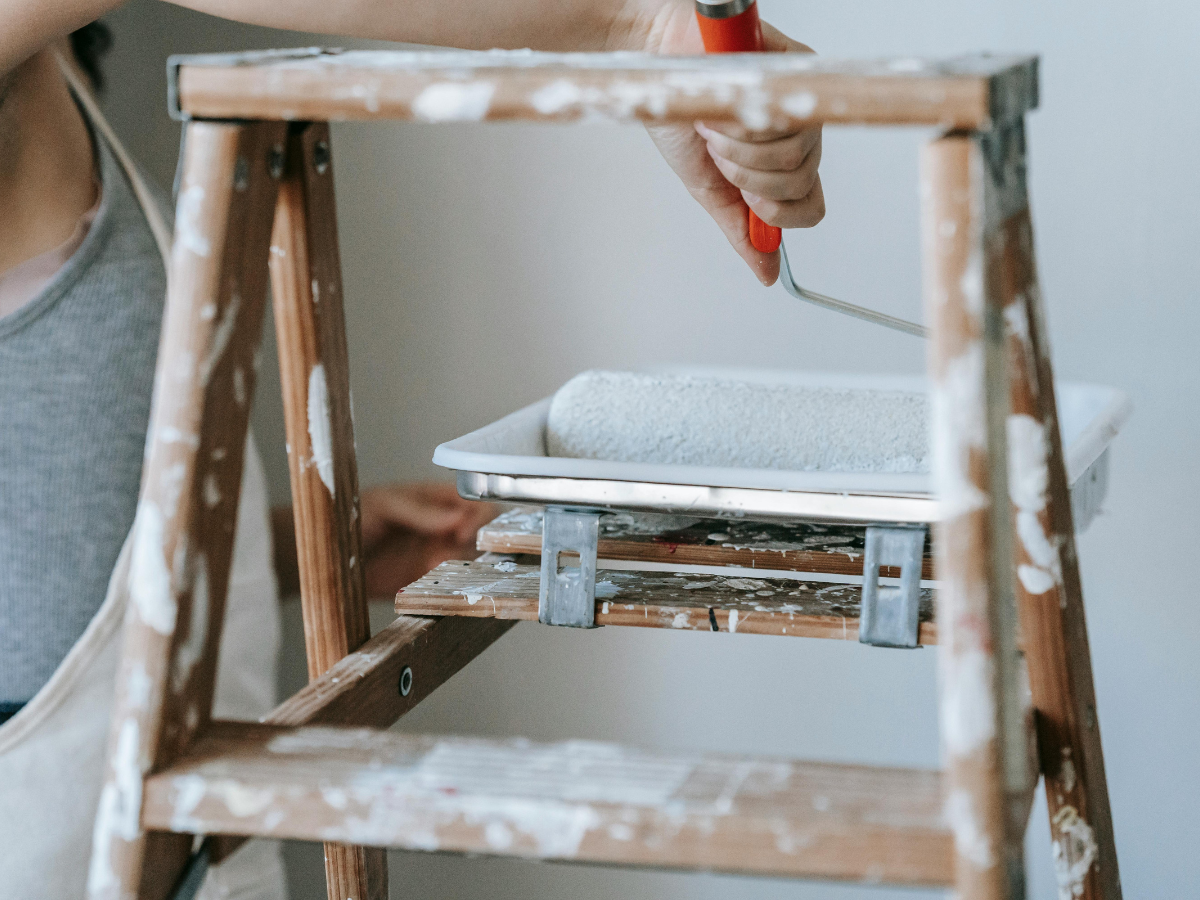
Tools and Materials You’ll Need
Before diving into the step-by-step process, make sure you have the following items:
Ceiling paint- You’ll want to choose a flat or matte finish, since these help hide imperfections and reduce glare from lights.
Primer (if needed, this is especially helpful for stained or unpainted ceilings)
Painter’s tape
Drop cloths or plastic sheeting
Paint roller with an extension pole
Angled paintbrush (2–3”)
Roller cover (⅜” or ½” nap is ideal for most ceilings)
Paint tray and liner
Ladder or step stool
Step-by-Step: How to Paint a Ceiling
Step 1: Prepare the Room
First things first: clear as much furniture as possible from the room. Cover anything that remains with drop cloths or plastic sheets, and lay protective coverings on the floor to catch drips and splatter. Tape them down to prevent them from shifting around during your project!
Use painter’s tape along the tops of walls, around light fixtures, or along molding to make sure you get clean lines and protect surfaces nearby.

Step 2: Clean the Ceiling
Give the ceiling a good wipe down, even if you don’t think it needs it. Use a broom, dry mop, duster, or vacuum with a brush attachment to remove spiderwebs and dust.
For greasy or smoky ceilings (like in kitchens), you may need to clean it a bit more thoroughly using a mild soap-and-water solution. Let the ceiling dry completely before moving on to step 3.
Step 3: Prime (if needed)
Not all ceilings will need primer, but if your ceiling has stains, water damage, or has never been painted before, applying primer is an important step in the process. Use a stain-blocking primer to seal discoloration and provide a uniform surface for the paint to adhere to. Apply the primer just as you would ceiling paint- cut in the edges first and roll over the surface evenly.
Step 4: Cut in the Edges
‘Cut in’ means using your angled brush to paint a 2-3 inch border where the ceiling meets the walls, corners, and any fixtures. Doing this makes it less likely that you’ll hit the walls with the roller in the next step.
Take your time here! Clean lines will make the finished job look professional and more polished overall.
Step 5: Roll the Paint
Now comes the part you’ve been waiting for!
Pour the paint into your tray and load your roller evenly. Using an extension pole can save your neck and reduce the need for a ladder.
Start rolling in small sections, working in a consistent direction. Use either parallel or perpendicular to the main source of light in the room, like a window, to help minimize visible roller marks.
Use a “W” or “M” pattern to distribute your paint evenly, then go back over the section in smooth, straight lines.
Remember to apply gentle, even pressure. Avoid pressing too hard with the roller- it causes splatter!
Step 6: Check for Drips and Overlap Marks
While the paint is still wet, this is your time to check for drips or missed spots. Flat ceiling paint is a bit more forgiving when it comes to mistakes, but attention to detail during this step can make all the difference once the project is finished.
Step 7: Apply a Second Coat (if needed)
Inspect the surface once the first coat is completely dry (usually after 4-6 hours, depending on the paint). If you see a spot that looks patchy or the original ceiling color is still visible, apply a second coat using the same steps.
Quick Tips for a Better Ceiling Paint Job
Use Ceiling Paint- While it is possible to use regular wall paint on the ceilings, it’s not recommended. Ceiling-specific paint has a higher viscosity and is designed to reduce drips and splatter.
Paint in Daylight- Natural light helps you see streaks and imperfections, so try to avoid painting in the evenings or at night if you can.
Work in Sections- Don’t let paint dry between different areas. Wet edges blend better and leave fewer marks that you’d need to cover up later.
Protect Yourself- Wear old clothes, a hat, and safety glasses to prevent any falling paint droplets from affecting you.
Take Breaks- Looking up for long periods of time causes strain on your neck, back, and shoulders, and is just physically demanding overall. Take breaks when you need them!

Do I have to paint my Ceiling White?
Even though white continues to be the most common ceiling color, painting the ceiling the same color as the walls, or with a slightly lighter shade, is becoming a popular design choice- especially in smaller rooms or rooms with low ceilings. It creates a seamless, unified look and can make the space feel larger.
You can read more about how to use paint to enhance small spaces in our blog!
Final Thoughts
Knowing how to paint a ceiling correctly can make a huge difference in the overall look and feel of a room. While it may take a little extra time and effort to make sure you paint your ceiling correctly, it’s well worth it once you see the final result.
If you’re in the Eugene/Springfield area, visit Forrest Paint for expert advice on your next project. Our team is happy to help you choose the right paint, tools, and supplies to make sure your project is a success from start to finish.