
A Fresh Look: How to Paint Your Cabinets the Right Way
Painting your cabinets is one of the most budget-friendly ways to completely transform a kitchen, bathroom, or laundry room. Whether your cabinets are dated wood, laminate, or just showing their age, a new coat of paint can make them look brand new again — without the cost or hassle of a full remodel.
Before you grab a brush, though, there are a few key steps that make the difference between a smooth, lasting finish and a project you’ll regret halfway through. Here’s what to know before you start.
Why Paint Cabinets Instead of Replacing Them?
Cabinet painting has become one of the most popular DIY and professional projects for homeowners — and for good reason. It’s faster, more affordable, and far less disruptive than a full replacement.
Painting allows you to:
Update your space on a budget. A gallon or two of paint is far cheaper than new cabinetry.
Experiment with color. Try timeless whites, soft neutrals, or bold statement shades.
Extend the life of your cabinets. Good paint and prep can help protect the wood and surfaces underneath.
Plus, with the right products, modern painted finishes can look just as high-end as factory finishes.
Step 1: Preparation Is Everything
It’s tempting to jump straight into painting, but prep work is what makes or breaks the project. Cabinets collect years of grease, dust, and residue — all things that prevent paint from sticking properly.
Remove doors, drawers, and hardware. Label each piece so you know exactly where it goes later.
Clean thoroughly. Use a degreaser or TSP substitute to remove oils, wax, and dirt.
Sand lightly. You don’t have to strip the finish, but scuff the surface enough for primer to grip.
Wipe clean again. Remove all sanding dust with a tack cloth or damp rag.
Taking the time to do these steps will give you a smoother, longer-lasting finish — and save you from frustrating peeling or uneven paint later.

Step 2: Prime Like a Pro
Cabinets are slick surfaces, often sealed with factory finishes or oils, which means primer isn’t optional — it’s essential. A bonding primer will give your paint something to adhere to and prevent stains or wood tannins from bleeding through.
When in doubt, Zinsser Smart Prime is one we recommend for projects like this. It’s a water-based primer with the performance of an oil-based one, ideal for glossy surfaces, moisture-prone areas, and busy kitchens. Apply it evenly and let it dry completely before moving on.
Step 3: Choose the Right Paint
Cabinet paint takes more wear and tear than almost any other surface in your home. It needs to handle fingerprints, scrubbing, moisture, and constant use — so don’t just grab any leftover wall paint.
Look for paints labeled for cabinetry, trim, or furniture, ideally with a durable finish like satin, semi-gloss, or gloss. These finishes are easier to wipe clean and resist moisture better than flat or matte options.
Forrest Paint carries several high-performance options that deliver both beauty and durability — stop by our Color Center to find the best match for your space.
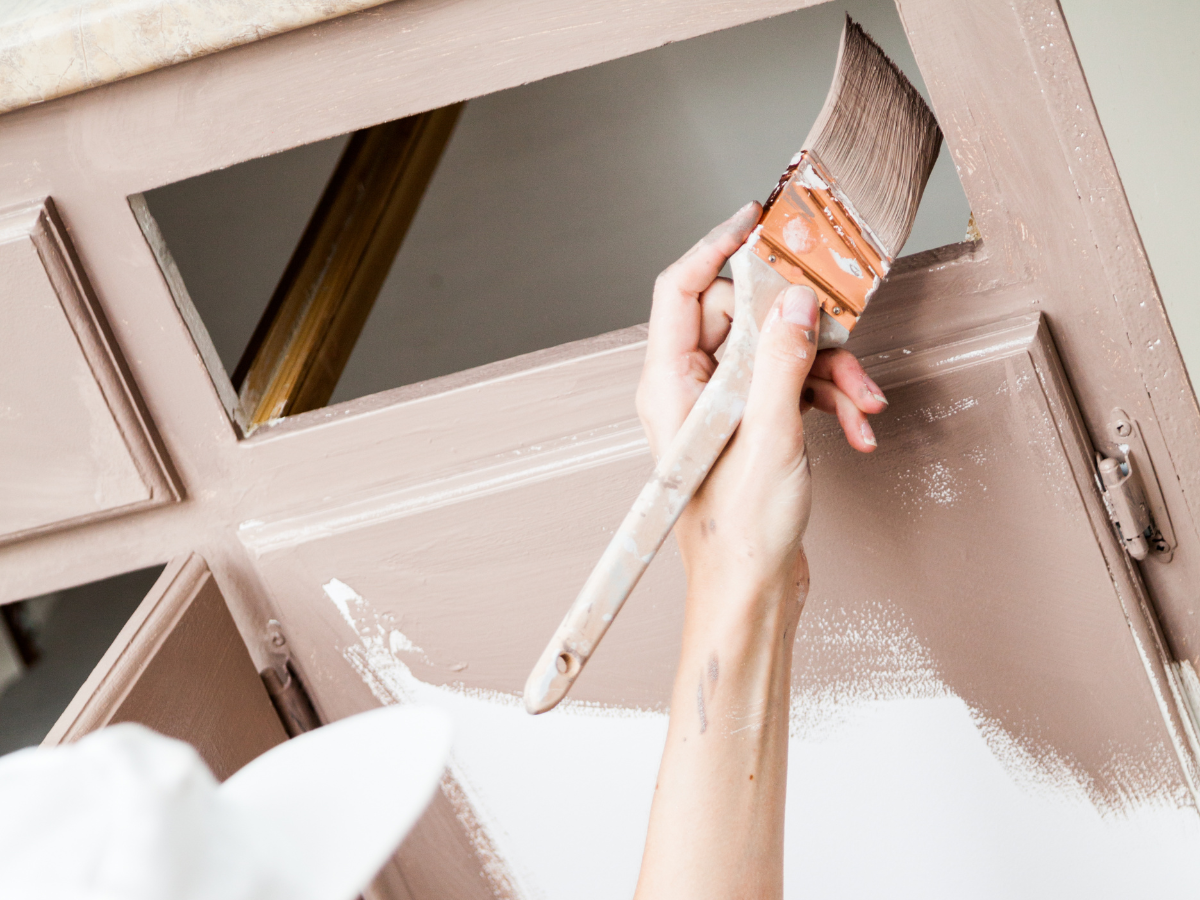
Step 4: Pick the Perfect Tools
Smooth finishes come from using the right tools.
For brushing: Choose a high-quality synthetic brush designed for water-based paints.
For rolling: Use a small foam roller for flat areas to minimize brush marks.
For spraying: If you’re comfortable with a paint sprayer, it can deliver an ultra-smooth, factory-like finish — just be sure to protect nearby surfaces.
Applying thin, even coats and allowing proper drying time between them will help you achieve a professional-looking result.
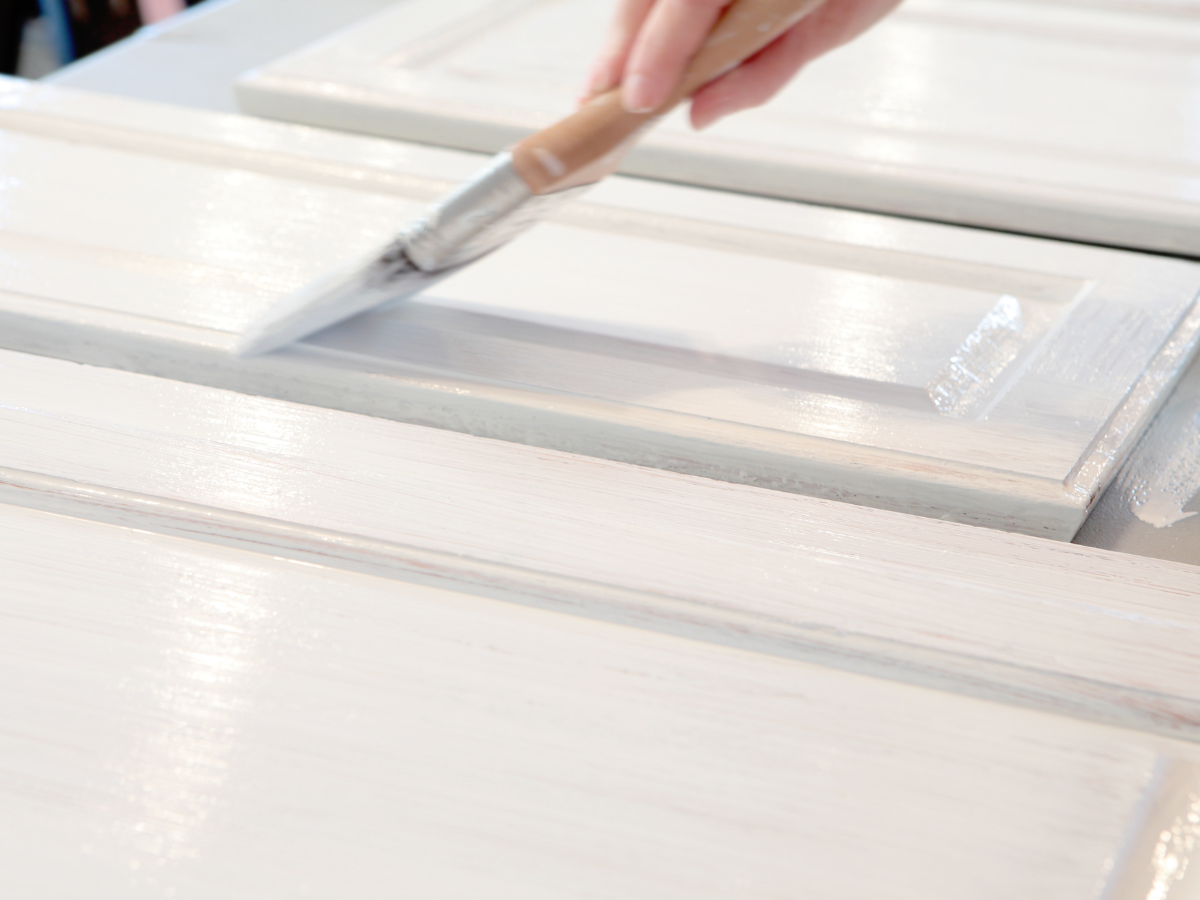
Step 5: Take Your Time With Application
Cabinets aren’t a “one coat and done” project. Apply multiple thin coats rather than one heavy one. Start with the frames, then move on to doors and drawers separately.
Between coats, lightly sand with a fine-grit sandpaper (220 grit works well) and wipe clean. This small extra step makes your final coat look smooth and feel like a factory finish.
Once your last coat is applied, let everything cure completely before reattaching hardware or closing doors. Even if the paint feels dry, it can take a few days to fully harden.
Step 6: Reassemble and Admire Your Work
After everything is dry and cured, reattach your doors, drawers, and hardware. If you want an updated look, this is the perfect time to replace old knobs or handles with something new — small details that make a big difference.
Step back and admire your work. What was once outdated can now feel completely refreshed, and you did it without replacing a single cabinet box.
Bonus Tips for Best Results
Avoid rushing dry times. Humidity and temperature can affect how quickly paint cures — patience pays off.
Label everything. When removing doors and drawers, label or number them so reassembly is painless.
Consider a topcoat. For extra protection, especially in kitchens, a clear topcoat can add durability.
Mind your lighting. Colors often look different in your kitchen light than they do in the store — test samples first.
When to Call in the Pros
If your cabinets have extensive damage, peeling veneer, or are made from laminate that’s lifting, it might be time to call in a professional. They’ll have the tools, products, and experience to refinish properly — but for most solid cabinets in decent shape, a careful DIY job can deliver impressive results.
Your Local Paint Experts
Painting your cabinets can completely change the look of your space — and with the right prep and products, you’ll get results that last for years.
If you’re in the Eugene/Springfield area, stop by Forrest Paint for expert advice, product recommendations, and color inspiration. Whether you’re tackling cabinets, walls, or outdoor projects, we’ll help you find everything you need to make it look great.